Mastering an efficient and hygienic cow milking routine is crucial for dairy farmers to ensure optimal milk production, maintain udder health, and produce high-quality milk. A well-executed milking process not only maximizes yield but also plays a vital role in preventing mastitis and other udder-related issues. By implementing best practices in pre-milking preparation, machine milking techniques, and post-milking care, dairy farmers can significantly improve their herd’s productivity and overall farm profitability.
Pre-milking udder preparation techniques
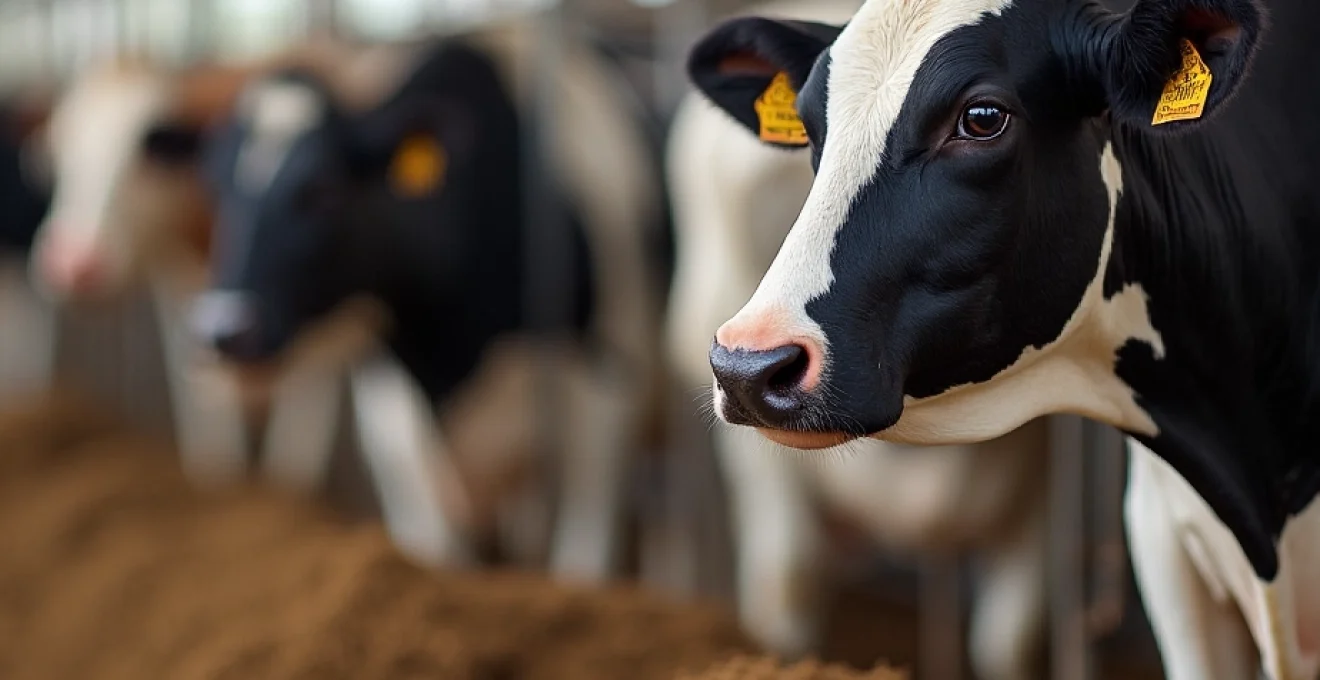
Proper udder preparation is the foundation of a successful milking routine. It sets the stage for efficient milk letdown and helps minimize the risk of contamination. The primary goals of pre-milking preparation are to clean and stimulate the udder, as well as identify any potential health issues before milking begins.
Start by ensuring a calm environment in the milking parlor. Cows are creatures of habit, and a consistent, stress-free routine promotes better milk letdown. As you begin the preparation process, put on clean, disposable gloves to reduce the risk of spreading bacteria between cows.
Next, examine the udder visually and through gentle palpation. Look for signs of swelling, redness, or injury that might indicate mastitis or other health concerns. This quick assessment can help you identify problems early and take appropriate action.
One of the most critical steps in udder preparation is cleaning the teats. Use a sanitizing solution specifically designed for pre-milking teat disinfection. Apply the solution generously, ensuring complete coverage of each teat. Allow the solution to remain in contact with the teat skin for at least 30 seconds to effectively kill bacteria.
Proper teat cleaning and stimulation can increase milk yield by up to 10% and significantly reduce the risk of mastitis.
After the contact time has elapsed, thoroughly dry each teat with a clean, single-use towel. This step is crucial for two reasons: it removes any remaining dirt or debris, and it provides additional stimulation to promote milk letdown. Use a separate towel for each cow to prevent cross-contamination.
Optimal machine milking procedures
Once the udder is properly prepared, it’s time to begin the machine milking process. Efficient and gentle machine milking is essential for maximizing milk yield while minimizing stress on the cow’s udder. Follow these steps to ensure optimal milking procedures:
Proper attachment of milking clusters
Attaching the milking clusters correctly is crucial for efficient milk removal and preventing teat damage. Begin by aligning the cluster so that it hangs squarely beneath the udder. This proper positioning helps distribute the weight evenly and reduces the risk of slipping or twisting during milking.
When attaching the teat cups, work quickly but gently. Start with the teats furthest from you and move towards the closer ones. This technique minimizes the risk of inadvertently kicking off already attached cups. Ensure that each teat is inserted fully into the liner, with the mouthpiece resting snugly against the base of the teat.
Avoid letting air enter the system during attachment, as this can lead to vacuum fluctuations and increase the risk of mastitis. If you hear any hissing sounds, quickly adjust the cups to create a proper seal.
Monitoring milk flow and pulsation rates
Once the clusters are attached, closely monitor the milk flow and pulsation rates. Modern milking systems often have flow sensors and displays that provide real-time information. Look for a steady, consistent flow of milk, which indicates that the cow is experiencing proper milk letdown.
The pulsation rate, typically set between 55-65 cycles per minute, should remain constant throughout milking. This rhythmic alternation between the milking and rest phases is crucial for maintaining blood circulation in the teats and preventing congestion or edema.
Pay attention to any unusual changes in milk flow or pulsation. A sudden drop in flow might indicate that the cow is finished milking or that there’s an issue with the equipment. Conversely, erratic pulsation could signal a problem with the pulsator or vacuum system.
Adjusting vacuum levels for efficient extraction
Proper vacuum levels are essential for efficient milk extraction without causing damage to the cow’s teats. The optimal vacuum level typically ranges between 12-14 inches of mercury (inHg) or 40-47 kilopascals (kPa) at the teat end during peak milk flow.
Modern milking systems often have automatic vacuum regulators that maintain consistent levels. However, it’s important to regularly check and calibrate these systems to ensure they’re operating within the correct range. Excessive vacuum can lead to teat end damage and increase the risk of mastitis, while insufficient vacuum may result in incomplete milking and reduced yield.
Be prepared to make minor adjustments to vacuum levels based on individual cow characteristics or changes in milk flow. For example, cows with longer teats may require slightly higher vacuum levels to maintain proper cluster positioning.
Preventing overmilking with automatic takeoffs
Overmilking occurs when the milking unit remains attached after the cow’s milk flow has ceased. This can lead to teat damage, increased risk of mastitis, and reduced milk quality. To prevent overmilking, many modern dairy farms use automatic cluster removers (ACRs) or takeoffs.
ACRs monitor the milk flow rate and automatically detach the cluster when the flow drops below a predetermined level, typically around 0.2-0.4 pounds per minute. This ensures consistent end-of-milking for each cow, regardless of variations in milk yield or milking speed.
When using ACRs, it’s important to regularly check and calibrate the flow sensors and removal mechanisms. Set the flow rate threshold appropriately for your herd, considering factors such as average production levels and udder health status.
Proper use of automatic takeoffs can reduce milking time by up to 20% while improving udder health and milk quality.
For farms without ACRs, train milking staff to recognize signs of completed milking, such as a visible decrease in udder fullness and a marked reduction in milk flow. Teach them to detach clusters promptly and gently to avoid overmilking and potential teat damage.
Post-milking teat disinfection methods
After milking is complete, post-milking teat disinfection is a critical step in maintaining udder health and preventing new intramammary infections. This process helps eliminate bacteria that may have been introduced during milking and provides a protective barrier on the teat skin.
The most common method of post-milking teat disinfection is dipping. Use a clean teat dip cup filled with an approved disinfectant solution. Ensure that at least two-thirds of each teat is covered by fully immersing it in the solution. This thorough coverage is essential for effective bacterial control.
Choose a high-quality teat dip that combines fast-acting germicidal properties with skin conditioning agents. Look for products containing iodine, chlorhexidine, or other approved active ingredients. The inclusion of emollients helps maintain teat skin health, preventing chapping and cracking that can increase susceptibility to infection.
Some farms opt for spray application of post-milking disinfectant. While this can be faster, it requires careful technique to ensure complete coverage of all teat surfaces. If using a spray method, apply the disinfectant from multiple angles to coat the entire teat, including the teat end.
Regardless of the application method, allow the disinfectant to dry naturally on the teats. Avoid wiping off excess solution, as this can reduce its effectiveness. Encourage cows to remain standing for at least 30 minutes after milking to allow the teat canal to close fully before they lie down.
Milking frequency and timing considerations
The frequency and timing of milking sessions can significantly impact milk production, udder health, and overall herd management. Most dairy farms milk their cows two or three times per day, with consistent intervals between milkings.
For twice-daily milking, aim for intervals as close to 12 hours apart as possible. This regularity helps maintain consistent milk production and reduces the risk of udder engorgement. Common schedules include 5 AM and 5 PM or 4 AM and 4 PM milkings.
Farms practicing three-times-daily milking often see increased milk production, sometimes up to 15% more than twice-daily milking. However, this requires more labor and puts additional stress on the udder. A typical three-times-daily schedule might be 4 AM, 12 PM, and 8 PM, aiming for 8-hour intervals.
When considering milking frequency, take into account factors such as:
- Herd size and labor availability
- Individual cow production levels
- Stage of lactation
- Udder health status
- Facility design and milking system capacity
Some farms implement flexible milking frequencies, such as milking high-producing cows three times daily while keeping lower producers on a twice-daily schedule. This approach can maximize efficiency and tailor management to individual cow needs.
Remember that any changes to milking frequency should be implemented gradually to allow cows to adjust. Monitor milk yield, udder health, and overall cow comfort closely when making such transitions.
Mastitis prevention during milking routine
Mastitis prevention is a critical aspect of any milking routine. By implementing proper techniques and maintaining vigilant monitoring, dairy farmers can significantly reduce the incidence of this costly and potentially devastating udder infection.
Detecting clinical signs through fore-stripping
Fore-stripping, or the practice of expressing and examining the first few streams of milk from each teat, is an essential step in early mastitis detection. This process serves two purposes: it allows for visual inspection of the milk for signs of mastitis, and it helps stimulate milk letdown.
When fore-stripping, look for any abnormalities in the milk, such as:
- Clots, flakes, or stringy consistency
- Unusual color (e.g., yellowish or bloody)
- Watery appearance
- Foul odor
If any of these signs are present, segregate the cow and her milk immediately. Further examination and potential treatment may be necessary. Always fore-strip onto a dark surface or strip cup to make abnormalities more visible.
Implementing california mastitis test (CMT)
The California Mastitis Test (CMT) is a quick, cow-side test that can help detect subclinical mastitis by estimating the somatic cell count in milk. While not typically performed at every milking, regular CMT screening can be valuable for monitoring udder health.
To perform a CMT:
- Collect a small amount of milk from each quarter in separate paddle wells
- Add an equal amount of CMT reagent to each well
- Gently swirl the paddle to mix milk and reagent
- Observe the reaction within 20 seconds
- Interpret results based on the degree of gel formation
A strong positive reaction indicates a high somatic cell count, suggesting the presence of subclinical mastitis. Use CMT results to identify cows that may require closer monitoring or intervention.
Maintaining hygiene with single-use towels
Proper hygiene during the milking process is crucial for mastitis prevention. One of the most effective ways to maintain cleanliness is by using single-use towels for udder preparation and teat drying.
Single-use towels, whether disposable paper or individual cloth towels that are laundered between uses, help prevent the spread of bacteria from cow to cow. Never use the same towel on multiple animals, as this can transfer pathogens and increase the risk of mastitis.
When using cloth towels, ensure they are thoroughly washed and dried between milkings. Consider using a sanitizing detergent and high-temperature drying to eliminate bacteria. For paper towels, choose a sturdy, absorbent option that won’t disintegrate during use.
Segregating infected cows in milking order
Implementing a strategic milking order can help reduce the spread of contagious mastitis pathogens within the herd. By milking healthy cows before those with known infections, you can minimize the risk of cross-contamination through milking equipment.
A typical milking order might be:
- First lactation heifers
- Healthy, low somatic cell count cows
- Cows with a history of mastitis but currently healthy
- Cows with subclinical mastitis (high somatic cell count)
- Cows with clinical mastitis (milked last and into a separate container)
While implementing a strict milking order can be challenging in large herds, even partial segregation can be beneficial. At minimum, ensure that cows with clinical mastitis are milked last or with separate equipment.
Record-keeping and milk quality monitoring
Maintaining detailed records and consistently monitoring milk quality are essential practices for optimizing your dairy operation. Accurate record-keeping allows you to track individual cow performance, identify trends, and make informed management decisions.
Keep comprehensive records of:
- Daily milk yield for each cow
- Somatic cell counts (individual and bulk tank)
- Incidence of clinical mastitis
- Treatment protocols and outcomes
- Culling decisions related to udder health
Regularly analyze this data to identify cows that may require intervention or culling. Look for patterns that might indicate herd-wide issues, such as sudden increases in somatic cell counts or clusters of mastitis cases.
Implement a routine testing schedule for bulk tank milk. Monitor parameters such as bacterial counts, somatic cell counts, and the presence of antibiotic residues. Many milk processors provide this testing as part of their quality assurance programs.
Consider participating in a Dairy Herd Improvement (DHI) program, which provides detailed milk testing and analysis services. These programs offer valuable insights into individual cow performance and can help you make data-driven decisions to improve herd health and productivity.
Use milk quality data to set goals for your operation and track progress over time. Establish benchmarks for key metrics like bulk tank somatic cell count and clinical mastitis incidence rate. Regularly review these goals with your veterinarian and milk quality advisor to ensure continuous improvement in your milking routine and overall herd management.